Internet Explorer is no longer updated for Windows and may not work properly with MXstore.
Please upgrade it now to keep shopping for the latest dirt bike gear and accessories!
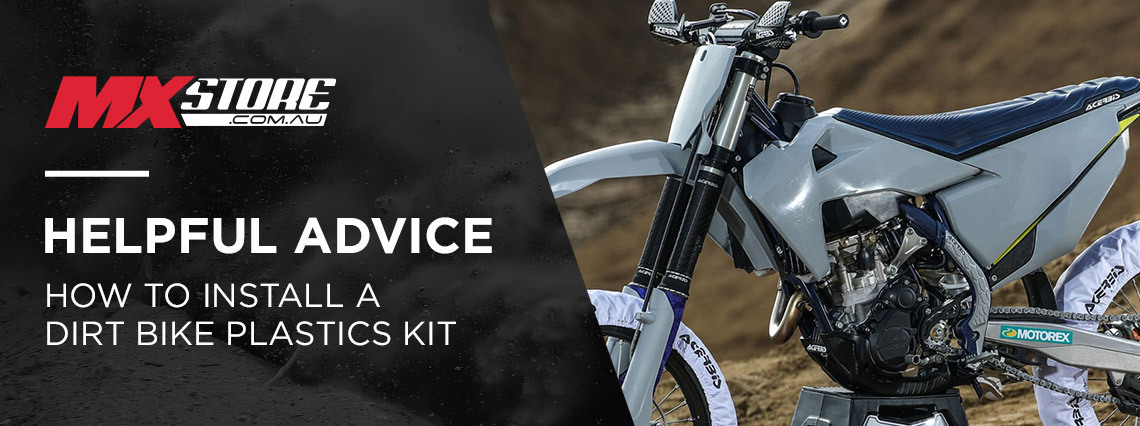
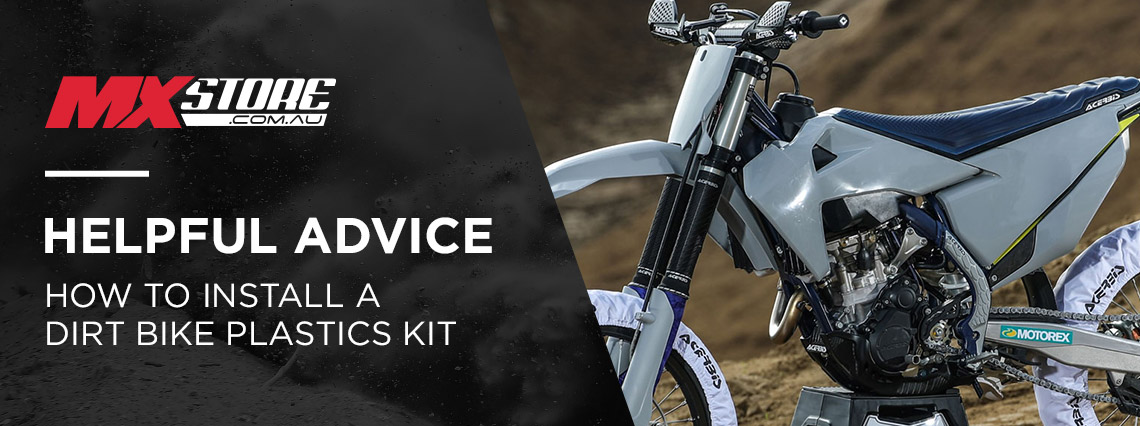
How To: Install a Dirt Bike Plastics Kit
Changing your plastics and chucking on a new aftermarket kit is one of the simplest tasks you can do in motocross. Whether you're simply replacing your OEM kit or going all out with a fresh look, a full plastic kit is the first step to organising the colour scheme of your prized machine. Combined with a fresh Graphics Kit and a new Seat Cover, here is where you make your ride stand out on the track.
MXstore's Honda CRF450R Project Bike:
Our Honda CRF450R project bike was in need of a fresh look, and the first step we took was removing the OEM plastics and replacing it with a brand new RTECH plastics kit. Check out our quick How-To Guide below for all the necessary steps you'll need to remove and replace your plastics kit.
What you'll need:
Typically the only tools you will need is a standard T-bar set, ranging from 6mm to 12mm sizes depending on what make your dirt bike is. Most European models will need a 6mm T-Bar for some of the bolts, while the majority of your Japanese models will be fine with an 8mm, 10mm and 12mm. If you're after a new T-Bar set or don't own one yet, check out our range of Ballards T-Bar Sets for a comprehensive range.
Ready, set, go:
Make note of what bolts come from where, as the shoulders on some bolts may differ in size on different parts of the plastic. There is no real right or wrong method or process to removing and installing your new plastics, but keeping the right bolts in the right place is essential.
We like to start from the rear of the motorbike, first removing your side panels and airbox covers, then the rear fender before making our way forward, right through to the front fender.
Once you've removed your current plastics, you're ready to chuck on the new set. If, like us, you're removing factory plastics from new, it's well worth keeping the originals handy if you ever need to replace any of your new plastics.
Again, there's no real right or wrong method, but we work back exactly the same way we just came, starting with the front fender and going right back through to the side panels and airbox covers. Ensure all your bolts are tightened sufficiently once the plastics are correctly in place.
Got new graphics?
If you are applying a graphics kit to your new plastics, be sure to give them a once over with some contact cleaner to ensure you have a clean surface to work with. Graphics can be a real pain to properly install if the surface of the plastic is not perfectly clean, so take the time to give your plastics a good once over before applying any graphics to them. You can learn how to apply graphics here: How to apply Graphics Kits
Explore our range of plastic kits at MXstore:
- Racetech Plastic Kits
- Acerbis Plastic Kits
- Cycra Plastic Kits
- Polisport Plastic Kits
- UFO Plastic Kits
Comments (1)