Internet Explorer is no longer updated for Windows and may not work properly with MXstore.
Please upgrade it now to keep shopping for the latest dirt bike gear and accessories!
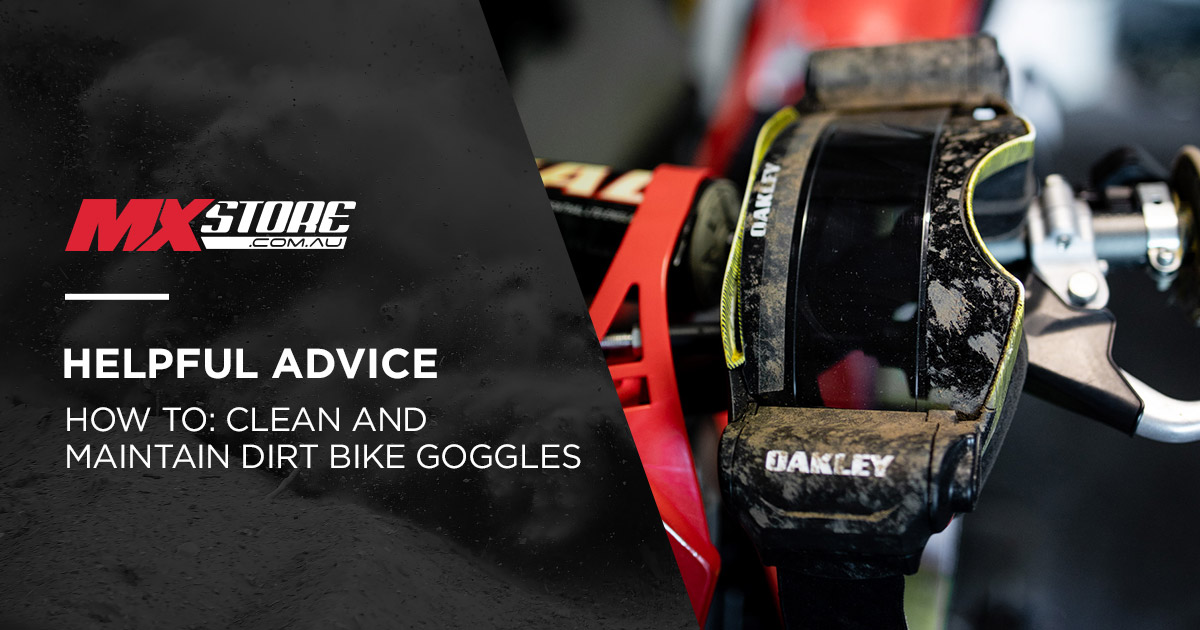
How To Clean and Maintain Dirt Bike Goggles

Having good vision while on a dirt bike is incredibly important, which is why it's crucial to ensure your goggles are cleaned, maintained and prepared for the elements of motocross and enduro.
In this how-to guide, we cover everything you need to know when it comes to cleaning and preparing dirt bike goggles.
How to clean dirt bike goggles:
Step 1 - Remove lens from goggle frame:
The best way to clean off-road goggles is to remove your lens and roll-off system from the goggle frame - this will allow you to thoroughly clean all of the components and complete the following steps.
Step 2 - Place goggles in laundry garment bag:
With the lens removed, place the goggle inside a laundry garment bag and put it in the wash with your riding gear. Ensure your washing machine is set to a gentle cycle. This ensures your goggles will come up like new, and by putting them in the laundry garment bag, they won't get damaged in the process.
Step 3 - Clean the lens:
Goggle lenses are treated with a coating on the inner and outer side to optimise vision and reduce fogging. This finish can be quite delicate particularly on the inner side, so avoid using chemicals in cleaning agents such as 'Windex' type cleaners, as although they will clean your lens, the ammonia will eventually turn the lens brittle and cracks will begin to appear and run through the lens. The best method is light soap and warm water - if there is any mud built up, allow the water to soak the mud until it falls off the lens, you can further clean the goggle lens with a microfiber cloth or using your goggle bag.
On-track tips for motocross goggle care:
Always run a tear-off: Always run at least one tear-off, even on the hottest driest day with only one other bike on the track, having an extra layer of protection over your goggle lens will improve its lifespan.
Be prepared for mud: On muddy days always be prepared with plenty of tear-offs to avoid being filled in and throwing your goggles off the side of the track mid-race. Another helpful item riding in super muddy conditions is a roll-off system - most major motocross goggle brands manufacture these now which give you clearer vision for longer. Goggle prep is crucial for muddier/sandy days.
How to install a goggle lens:
There's no 'one way' to install a dirt bike goggle lens - majority of the latest premium goggles use a quick-release system unique to the brand, while the more entry-level options still use a traditional style lens system. If you have a goggle with a quick-release system, it's best to reference the instructions included with your goggle for the specific ins and outs to removal and installation.
If you have a traditional style goggle, follow these steps:
Step 1 - Press and align top of goggle:
The first step is to align the lens with the 'pins' in the middle of the goggle frame, and then press the lens in until you feel a click.
Step 2 - Press and align sides:
Once the top is secured, you'll want to do the same process for the side until you feel it click.
Step 3 - Squeeze bottom of goggle:
The final step is to align the lens and goggle frame at the bottom, and squeeze them together - again, you'll want to feel a click. Double to check to make sure the lens is secured and sealed.
How to install tear-offs:
Installing tear-offs only involves a couple of steps, and it starts with ensuring your goggles are clean and that there is no sand or moisture on the lens.
Step 1 - Placing your tear-off on the goggles:
The first step to installing a tear-off is a case of aligning the holes in the tear-off with the tear-off posts on the goggles, and then simply pushing the tear-off so it sits on the lens. Ensure the pulling tab of the tear-off is on the left-hand side. Following that, most goggles will have an additional post on the outrigger or on the strap, which the tear-off should also press onto.
Step 2 - Stacking multiple tear-offs:
When you're stacking multiple tear-offs, you'll need to do the same process as above, however with each tear-off you put on, you'll need to fold back the pulling tab and lock it onto either the post on the lens or outrigger with the above tear-off. This needs to happen before each tear-off goes on.
If you're using laminated tear-offs, the whole stack can be pushed onto the tear-off posts, although the pulling tabs will still need to be folded and locked in by the above tear-off on the outrigger or strap post for each one you have on.
How to prepare and install roll-offs:
Preparing your motocross goggles roll-off system to go riding and racing is a fairly simple process, and taking the extra steps will ensure you have a clear lens and don’t run into dramas while out on the track or trail.
Step 1 - Preparation:
First things first - make sure your MX goggles and the roll-off system are clean. This is incredibly important - any dirt or debris that makes its way past the helmet visor into the roll-off system is bound to cause failure, and that’s why starting with a clean set is crucial.
Ensure the goggles, lens and roll-off system have been cleaned thoroughly before you ride your dirt bike, and also ensure they’re all dry.
Step 2 - Assembly:
The next step is assembling the roll-off system - if your goggle set is clean, then you would’ve likely taken the roll-off system from the goggle itself. If you didn’t have to, then you can skip this step. Once you assemble and install the system (or the side canisters), double-check no dirt has made its way inside. The best practice is to blow into the canisters with either your mouth or an air compressor.
Step 3 - Installing the roll:
Next up is installing the roll. If it’s a brand-new roll of film, it will already have sticky-tab that you can attach to the ‘dirty’ roll on the other side. If the roll you last used has plenty of roll film left, simply cut it where it’s clean and use tape to stick it to the dirty side. Once you’ve attached the film to the ‘dirty’ roll, lock it in place.
Step 4 - Installing the mud-flap:
If it’s a brand-new roll-off set, you’ll need to install the mud-flap. This is a super simple process, where all you need to do is line up the mud-flap on the top of the lens where it meets the goggle frame, and simply apply it.
Once you’ve completed that, or if your mud-flap is already installed, make sure the film sits nicely underneath.
Step 5 - Finishing up:
The last step involves putting each canister cover on and then testing the system. Pull the roll-off string a number of times, ensure it retracts easily and that the film scrolls across nicely without getting crinkled or caught on anything. If it’s not working correctly, try the process again. If it works flawlessly, you’re ready to ride!