Internet Explorer is no longer updated for Windows and may not work properly with MXstore.
Please upgrade it now to keep shopping for the latest dirt bike gear and accessories!
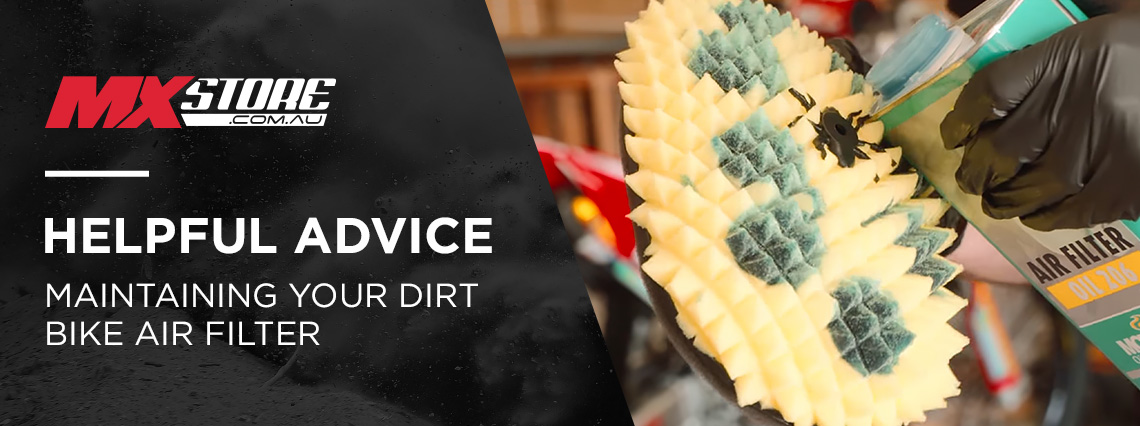
How to Maintain Your Dirt Bike Air Filter

Air filter maintenance is one of the most important aspects of bike maintenance, and it’s also one of the most frequent.
Poor preparation and maintenance of your air intake, airbox, and foam air filter can lead to reduced performance from your motocross or enduro bike, or worse, it could cause catastrophic damage to your engine.
Foam air filters, which are what you’ll find equipped on most off-road bikes, are relatively cheap and reusable, meaning they can be used over and over again with the correct procedures in dirt bike cleaning and maintenance.
In this guide, we teach you the key steps to maintaining your dirty filter to ensure your bike performs to its best breathing fresh air while keeping the engine safe from dirt and debris.
How to clean an air filter:
The best practice is to clean your dirt bike air filter during the same period you wash your bike - not only does this allow you to get it over with, but it also means the filter will be dry for your next ride, and you can immediately add air filter oil to it.
Step 1 - Remove from the air filter cage:
The first step to cleaning your off-road motorcycle air filter is a simple process after you’ve removed it from the bike, and it's simply a case of removing it from the air filter cage. It's important to also clean the cage along with this process, as dirt can get stuck to it when taking the dirty filter off.
Step 2 - Apply air filter cleaner:
It's always best to use dirt bike air filter-specific cleaner - you want to avoid using petrol or degreaser, as this can quickly degrade your filter. You'll want to proceed to massage the chemical in, turning the filter inside out and vice-versa. Once you’ve massaged the chemical in, rinsing the filter under warm water will remove any large bits of dirt or debris.
Step 3 - Clean filter:
The next step is similar, although this time you’ll want to massage the filter in a bucket of warm soapy water - any dishwashing soap will do the trick.
Step 4 - Rinse filter:
Rinse the filter again under warm water, and if the filter returns to its usual colour when excess water is removed, then it’s ready to air out and dry. If it isn’t, repeat this process once or twice more.
How to prepare clean air filters for oiling:
Pre-oil preparation is an extremely important step in maintaining your filter.
Step 1 - Ensure air filter is dry:
First things first, make sure the filter is dry, as applying oil to a damp or wet filter will trap moisture within the filter and can cause major dramas to your engine.
Step 2 - Remove specs of dirt:
The next step is to bang out your filter to remove any dirt that’s remained stuck in the filter - to do this, simply hit the filter against your hand a number of times, turning it around to get all areas of the filter and insepct the filter once done.
How to apply oil to an air filter:
Step 1 - Apply oil to the filter:
When applying oil, apply dots of foam filter oil all around the filter - you want to ensure you don't overdo the oiling, as you can always add more later on.
Step 2 - Massage filter oil in:
It's now time to massage the oil in so there isn’t a blank patch on the filter - if the oil is patchy on the filter, it just means you need to add a bit more oil. Keep doing this until the filter is well and truly oiled for the best filtration.
Step 3 - Fit filter to filter cage:
Once the filter has been adequately oiled, it's now time to fit the air filter to the filter cage, and then proceed with installing on your dirt bike. Make sure you don't place the filter down between this process, as unwanted dirt or debris could make its way through and get sucked into the air boot. Some people like to apply grease around the flat surface of the filter to seal it to the air box, please refer to your owners manual for recomendations on this. Aftermarket filters are now designed to have a much broader surface area and tighter seal.
How to clean and oil a K&N dirt bike filter:
While almost all dirt bike air filters are foam, K&N makes a special high-quality performance filter for a selection of dirt bike models, which requires a different process for cleaning and oiling.
Step 1 - Saturate filter with K&N Air Filter Cleaner:
Once you've removed the filter from the air box, saturate the filter with the K&N Air Filter Cleaner spray - it's important to use the K&N cleaner with the filter, as they're designed for each other.
Step 2 - Rinse filter:
Remove the top element of the filter, and rinse the filter inside out under a tap. Ensure you also rinse the top element as well, and make sure both are completely rid of dirt, dust and debris.
Step 3 - Dry filter:
Before moving onto oiling, you'll need to make sure the filter is thoroughly dry. You can shake it remove excess water, then allow it to sit and dry.
Step 4: Oiling filter:
Once the filter is dry, it's now time to oil it. Using the K&N Air Filter Oil, spray around the filter, and then let it sit for five minutes. Return to the filter and spray any light areas on the filter that haven't been oiled.
Step 5 - Seal with grease:
Apply grease to the top element of the filter and to the base of the main filter element (where the filter seal with the air box), to ensure both remain sealed.
How to clean a dirt bike air box:
You always want to clean your air box when you're cleaning your dirt bike, as you'll need your pressure cleaner and bike cleaner to complete the job:
Step 1 - Install air box wash cover:
After removing the air filter, you'll want to install an air box wash cover, and these are an absolute must-have because they allow you to thoroughly wash the airbox, which will make things cleaner and easier when you go to put in an air filter for the next ride. You may have seen some people stuff rags down the air box, but this isn't a fool-proof way to prevent dirt and moisture from making their way through to the air boot.
Step 2 - Spray degreaser:
Spraying degreaser around the airbox (stay clear of your battery, if you have one) helps to remove any air filter oil that has made its way onto airbox plastic from installing or removing, plus assists in getting rid of any dirt that’s become stuck.
Step 3 - Soap air box:
Just as you do when washing the rest of the bike, you also want to soap the air box after spraying degreaser in the area. This will help wash off the dirt and degreaser.
Step 4 - Wash & rinse air box:
The final step is spraying the air box with your pressure cleaner, which will blast away all the dirt and grime, all while rinsing it from soap and degreaser. This will ensure your air box is incredibly clean for installing a freshly oiled filter before your next rider, preventing the chances of dirt getting into the air boot.
How to install a dirt bike air filter:
Step 1 - Ensure air box is clean:
The first step is the ensure there are no tiny specs of dirt in the air box or the air boot - we recommend using a torch to inspect for even the smallest specs of dust or dirt.
Step 2 - Line up filter:
Every bike is different, however most bikes use a bolt in the centre of the filter. Line up the thread with the bolt sticking through the air filter. Once you've done, this, secure the bolt with your hand. If you have a KTM, Husqvarna, or GasGas, they generally use a clip system. In this case, line up the two pins on the air filter/air filter cage, and lock them in place.
Step 3 - Check the seal:
Once the air filter is secure in place, run your hand around the edges of the filter to ensure it's sealed correctly - check for any gap or irregularities in how the filter is sitting.
Learn more about which air filter to choose here: Air filter buying guide
Learn more about dirt bike air filters: Ultimate Guide to Dirt Bike Air Filters
Hit the banner or checkout some of our favourite Brands of Dirt Bike Air Filters Below:
- FunnelWeb Air Filters
- Hiflo Air Filters
- Maxima Air Filters
- Motorex Air Filters
- No Toil Air Filters
- Twin Air Air Filters
- Uni Filter Air Filters
Comments (1)