Internet Explorer is no longer updated for Windows and may not work properly with MXstore.
Please upgrade it now to keep shopping for the latest dirt bike gear and accessories!
4 things to check if your dirt bike won’t start at the track or trail

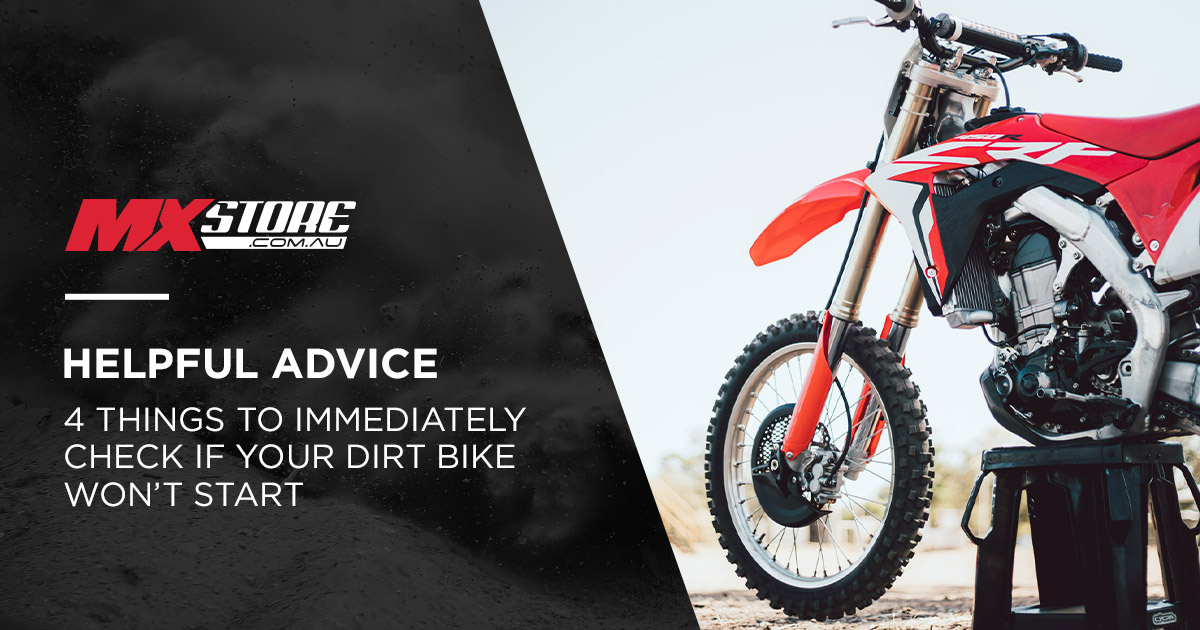
There's no worse feeling than when you're geared up, helmet on, and ready to head out for your first ride, only for your beloved dirt bike to not fire up.
There are four key components for a combustion engine to run:
- Fuel
- Air
- Ignition
- Compression
Without these key components, your engine will never start and run.
Suck, Squish, Bang and Blow:
Suck: The engine draws in a mixture of fuel and air in an optimal fuel mixture to burn effectively and efficiently.
Squish: The piston will squeeze the mixture together and compress it ready for ignition.
Bang: The spark plug ignites the mixture of compressed fuel and air, creating an explosion and producing power.
Blow: The burnt mixture of fuel and air then exits through the exhaust system.
It's not the time to panic and head home just yet. Here are a few troubleshooting techniques you can check on the side of the track or trail to get you out there in no time.
1. Fuel
- Firstly, do you have fuel in your tank and how old is it? Sometimes it's the simplest of things, so it's always best to check. Also, the fuel level being a little low can impact the bike starting, so make sure the fuel it topped up and is fresh!
- Secondly, if you have a carburettor dirt bike, you'll also want to make sure the fuel tap is turned on. Again, this another simple thing that can sometimes be overlooked in the panic of your bike not starting.
- Thirdly, if you have a fuel-injected dirt bike, you'll want to blip the starter button and listen for the fuel pump activating/priming. This is usually a buzzing sound coming from your fuel tank.
If you have checked the above things and still think it's a fuel issue you may have a blocked jet in the carburettor or injector (fuel injected bikes).
2. Air
Something that is often overlooked when your bike won't start is the airbox. We've all been guilty of leaving a rag or airbox wash cover installed (and forgetting to install an air filter), resulting in the bike failing to start. So check the airbox and while you are there, make sure your air filter is intact and isn't showing any signs of falling apart. It's a simple mistake you'll likely only make once, but it's always a good place to look when your pride and joy won't fire up.

3. Ignition
Another key component to check when your motocross or enduro bike won't start is the spark plug. A fouled spark plug is more prevalent on two-stroke dirt bike, and it's actually a pretty common reason it won't start. It's not so common on four-stroke MX bikes, so we would recommend checking this after the above steps in this guide. While you have the spark plug removed it is also a perfect time to check for spark.
How to inspect your spark plug and check for spark:
- Step 1 - Remove spark plug: The first step is to remove your spark plug from the cylinder head. First you'll want to remove the spark plug cap, which is a matter of just sliding it off, followed by loosening the spark plug with spark plug spanner or socket. (On some bikes you may need to remove the fuel tank and appropriate parts to gain access to the spark plug)
- Step 2 - Inspecting the plug: Now this is where you determine if the spark plug is causing your bike to not start. If your spark plug is excessively dark or black at the tip (the end with the thread), then this means your spark plug has fouled and it's time for a new one. If the colour of the tip is a brown colour, then the spark plug is likely not the reason your bike is starting.
- Step 3 - Checking for spark: Fit the spark plug into the cap and with the tip exposed, ground the spark plug body to an earth point on the frame of your bike. Turn the bike over and look for a spark, this is generally blue in colour jumping between the centre electrode and the ground electrode. If you do not have spark then we would recommend taking your bike to a local mechanic for diagnoses.
- Step 4 - Install/Re-install: If you need a new spark plug, or are reinstalling the existing one, simply thread the plug back into the cylinder head and use the spark plug spanner or socket to tighten and secure - ensure you don't over-tighten, otherwise it will damage the cylinder head. Complete the process by pushing the spark plug cap back on. (Re install fuel tank and other components if removed)
Checklist for battery issues:
Most modern day dirt bikes are now equipped with an electric starter. Adding this additional system to a dirt bike is great but can also be another variable to inspect when having non-starting issues. To dive into what could be a "flat battery" scenario a little more, we can give you some tips and tricks to look at when having these problems. Some of the potential areas for a issue would include:
- Battery terminals - Check to ensure the terminals are tight and have a good connection. Inspect for any corrosion and make sure the connections are nice and clean with a good contact.
- Fuses - All bike with an electric start will have a fuse box located generally near the battery - these can be inspected if there is nothing happening when the button is being pushed.
- Earth - In our experience we have seen that a lot of bikes have insufficient earth cables (also known as ground). Ensure there are good connections on both ends, and that the cable still has full integrity, we have seen alot of instances where cables have been worn or broken but rubbing on a seat or subframe, so check to ensure the routing is not being interfered by something else.
- Lithium Battery - Many bikes now have lithium battery to save weight, some of these batterie require a "warming up" process. Without following the correct startup procedure, they can easily flatten quicker than a traditional lead acid battery. Please refer to your owners manual on the correct start up procedure for your bike.
- Flat Battery - Finally, if your battery is completely flat this is a perfect time to jump start your bike. This is when having a set of jumper leads which will allow you to jump from an external power source or alternatively a jump pack will allow you to start your bike without another power source!
4. Compression
Lastly, compression is another key component that when missing makes a bike incredibly hard to start. Generally speaking, four strokes are more common to losing compression due valves wearing and needing routine inspection/adjustment. Most people don't carry a compression tester to the track or trail but there are still ways to check the compression on your dirt bike without one.
How to check compression on your MX bike without a compression tester:
- Step 1 - Kick the bike over slowly: You should be able to feel a substantial amount of resistance. If the kick starter drops when attempting to kick over without much force you likely have a compression issue. This is the time we would recommend taking the bike to your local mechanic for inspection.
- Step 2 - Valve clearance inspection: If you are mechanically minded, you could use a set of feeler gauges to check valve clearance/tappet clearance. This will ensure the valves aren't being held open while the engine is trying to fire. If the clearance is within manufacture spec and everything else checks out we would recommend taking the bike home and checking the compression with a compression tester or taking to your local mechanic for further diagnosis.