Internet Explorer is no longer updated for Windows and may not work properly with MXstore.
Please upgrade it now to keep shopping for the latest dirt bike gear and accessories!
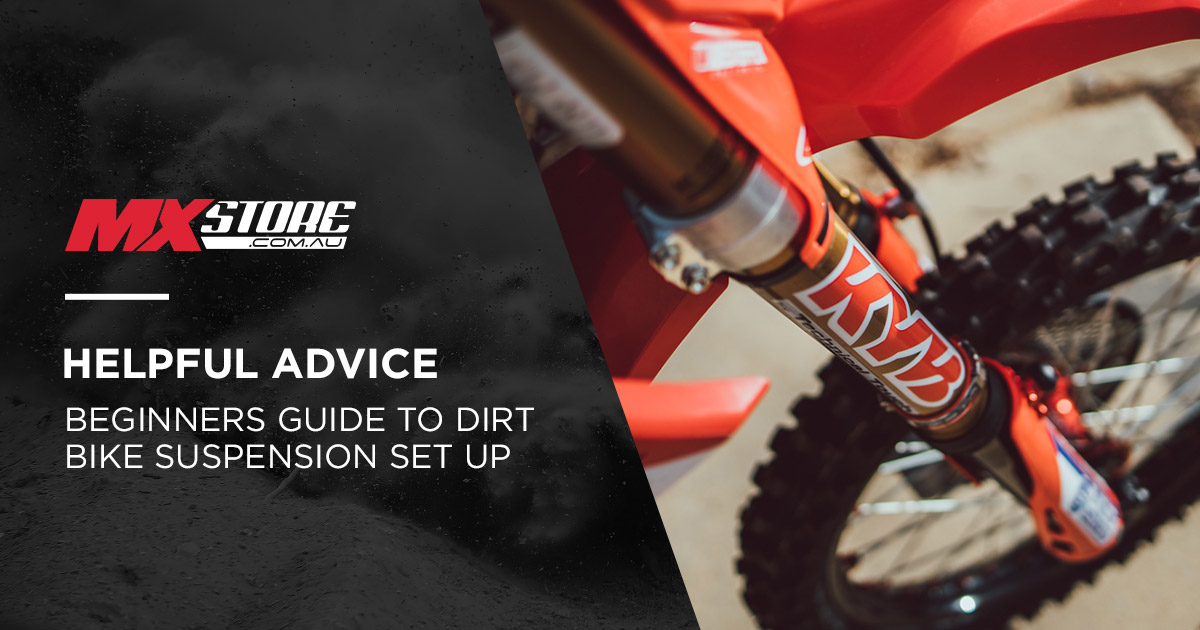
The Beginners Guide to Setting Up Your Dirt Bike Suspension

Setting up your dirt bike's suspension can be a daunting task, although it's easy to get a simple understanding of how it works, and how you can make it work more efficiently.
In this guide, we cover the basics in dirt bike suspension so you can learn how to adjust your bike's handling characteristics and establish a base setting.
How to set dirt bike sag:
Before you even hit the track to set-up your suspension, you'll need to set your sag. Setting your sag ensures your motocross or enduro bike’s ride height is correct for your weight, which will allow your suspension to work in its most effective range.
The first step we recommend is marking your measuring points on the end of the swingarm and directly above on the rear fender, this will ensure you get the most accurate measurements.
The next step is measuring the distance between the two points - make sure you do this with the bike on the bike stand with the rear wheel off the ground, and write this down as you’ll need it later.
Next, take the bike off the stand and get the rider - completely geared up - to sit on it. You’ll need someone to hold the bike up while an additional person takes the measurement.
Use the measurement and subtract it from the initial measurement, which will result in your sag setting - the final number should be within 100-105mm. If it isn’t, that means you need to adjust your sag.
If you have more than 105mm of sag, you’ll need to add preload to the spring - this is where you grab a hammer and punch, and loosen the locking nut at the top of rear shock spring. To add preload, turn your shock spanner ring clockwise. Do this until you find the right sag, and remember to tighten the locking ring back up.
To reduce preload, you’ll need to turn the spanner counterclockwise. Again, do this until you reach the right sag, and then remember to tighten the locking nut.
How to set-up your dirt bike shock:
Shock rebound set-up
There are three scenarios to dial in your shock's rebound damping, so make sure you're at a track that is fairly rough or worn it - you don't want to set-up your suspension on a flat track, as when it does get rough, you'll be in some trouble.
Rebound test scenario 1: The first testing scenario is finding a fast straight with braking bumps leading into the corner. From here you want to adjust the rebound damping by reducing it, which means turning the clicker out resulting in faster rebound. Hit the braking bumps, and here it should feel like it hops and is fairly loose in the rear. This is not the final feeling, it sets you up to fine-tune the rebound.
From here, it's a case of increasing the rebound by turning the clicker in, which will make it slower, and keep doing so 1-2 clicks at a time until that hoppy and loose feeling disappears.
Rebound test scenario 2: For test scenario two, you'll want to find a jump that sends you pretty well - it doesn't need to be massive, but it needs to be a decent size. From here, the rear shock should feel like it's absorbing the take-off smoothly. If the rear-end bounces or kicks up, then it needs increased rebound, so turn the clicker to make it slower.
Rebound test scenario 3: Test scenarios three involves hitting a whooped out section of the track. Your dirt bike should track nice and straight through the whoops, with the rear wheel pushing out to the ground before each whoop. If the bike isn't reacting in that way, the rebound needs to be reduced, so turn the clicker out to make it faster.
All three of these test scenarios pieced together should provide a strong base level setting for most track and riding conditions.
Quick tip: When you're testing your suspension, bring someone who has some knowledge on how suspension works, or alternatively, get them to film you in each test scenario - this will allow you to review the footage and see how the bike is reacting.
Shock compression set-up
Compression test scenario 1: The first test scenario for setting up your rear shock compression involves finding a corner with chattery acceleration bumps on the exit. The rear of the bike should follow the ground and absorb the bumps - if it feels like it's kicking up, soften the compression by turning the clicker out. Keep adjusting by one click until you get the desired feeling.
Compression test scenario 2: For test scenario two, find a rough section of the track or somewhere where the bike is going to 'g-out'. Here, the rear shock should be bottoming out at the roughest point of the track, although it shouldn't be a harsh and slamming feeling.
To relieve harsh bottoming, increase the stiffen the compression by turning the clickers in, but only make incremental adjustments to avoid a harsh feeling over small bumps. Changing the adjusters have a big impact on low-speed, so a major change may only affect the bottoming resistance slightly. It's also normal for the suspension to bottom out at the roughest point - it means your using all the travel and plushness available to you.
How to set-up your dirt bike forks:
Fork rebound set-up
Your forks' rebound plays an important in the stability of your motocross bike and it's cornering characteristics. There is one key testing corner scenario for setting up the rebound damping in the front, and that's by finding a short, sweeping corner.
If your forks rebound too quickly in a corner, the front-end will drift or washout. If the rebound is too slow, front-end will turn too soon and tuck. It's a case finding the balance between the two by adjusting the rebound adjuster in (slower rebound) and out (faster rebound). You may find this will need adjustment between tracks.
When you find the balance, the bike should turn nicely without deflecting off berms or bounce off jumps.
Fork compression set-up
Your fork compression set-up should work well with all track conditions and obstacles. If the front-end has a hard or harsh feeling over small bumps, you'll need to soften the compression by turning the clicker out.
If they're too soft, do the opposite - turn the clickers in until they feel harsh, and then turn the clicker back once or twice until you achieve a nice feeling.
It's also recommended to find the roughest part of the track, where the fork should bottom out over the biggest or worst obstacle, such as a jump. If there's a harsh bottom out, you can oil to the fork, although we'd advise seeing a suspension technician to undertake this task.
What next?
If you've played with the settings and haven't been able to establish a set-up your comfortable with, we recommend seeing a professional motorcycle suspension technician. They'll be able to assist you with your suspension settings, as well as perform advanced suspension adjustments, such as changing spring rates, revalving, and changing oil and air amounts.
Comments (2)