How to replace a dirt bike oil filter

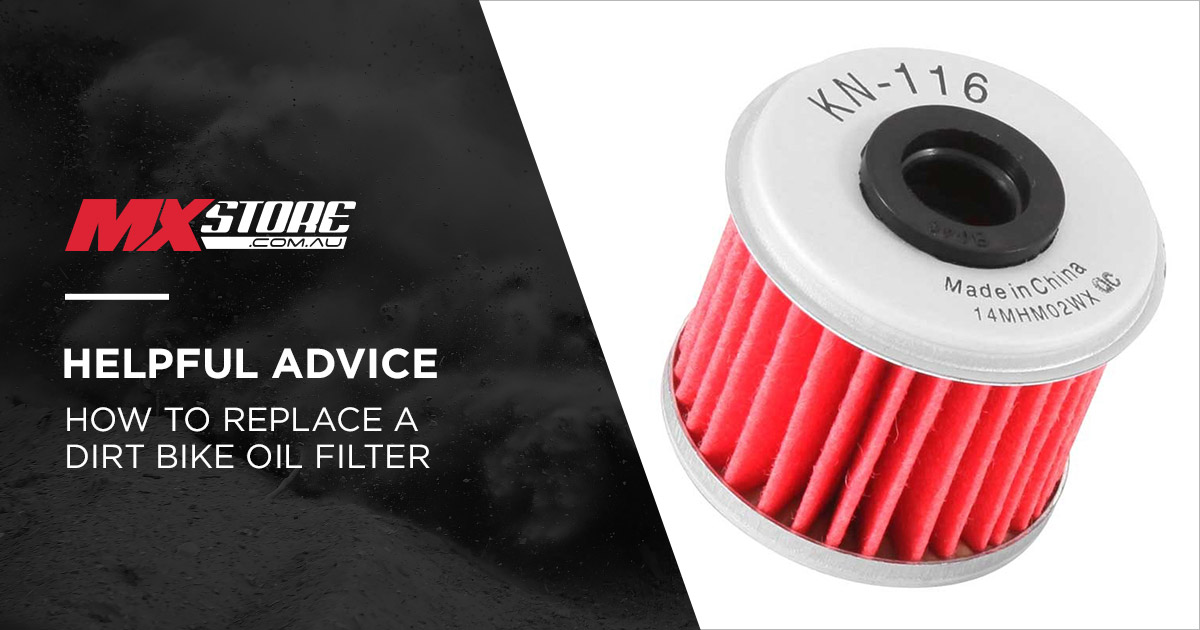
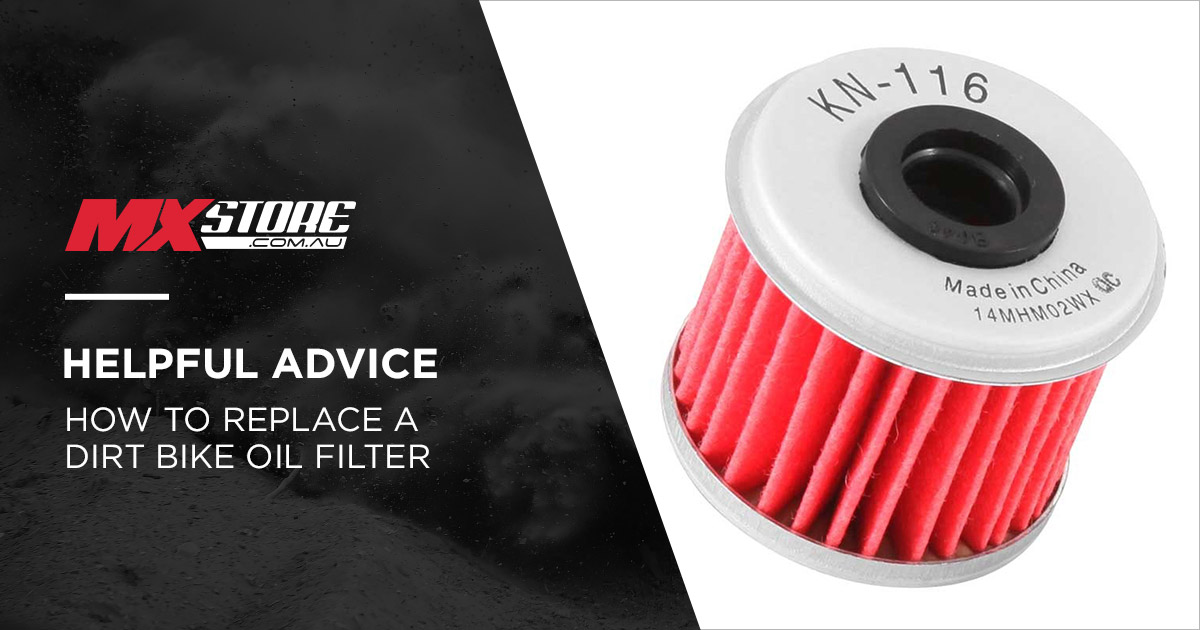
 Changing your dirt bike oil filter is a piece of regular maintenance that every rider is going to carry out a countless amount of times. It's a simple process that should be done with every - or most - oil changes.
In this guide, we cover how to replace and install a new dirt bike oil filter.
Step 1: The first step in changing your oil filter is to remove your old oil - you always want to replace your oil filter when doing an oil change, and it's good maintenance to switch out the filter every 4-8 hours.
Step 2: Now that you've dumped the oil, it's time to remove the oil filter. Each motocross or enduro bike is different, however most bikes will have the oil filter on the left side of your engine, where there are generally two bolts on the oil filter cover - check your owner's manual if you're unsure. Once you've undone the bolts on the cover, the filter should be easily removed - some bikes may have a spring behind the filter, so watch out for that when taking it out.
Step 3: Before you go ahead and install the new premium oil filter, make sure you put some new engine oil on and around the rubber seal.
Step 4: Once you've oiled the seal, you can now go ahead and install the filter - remember if your bike has a spring behind the filter, this will also need to be installed.
Step 5: When the motorcycle oil filter is in place, you can now put the cover back on and secure bolts. You're now ready to carry out the rest of your oil change.