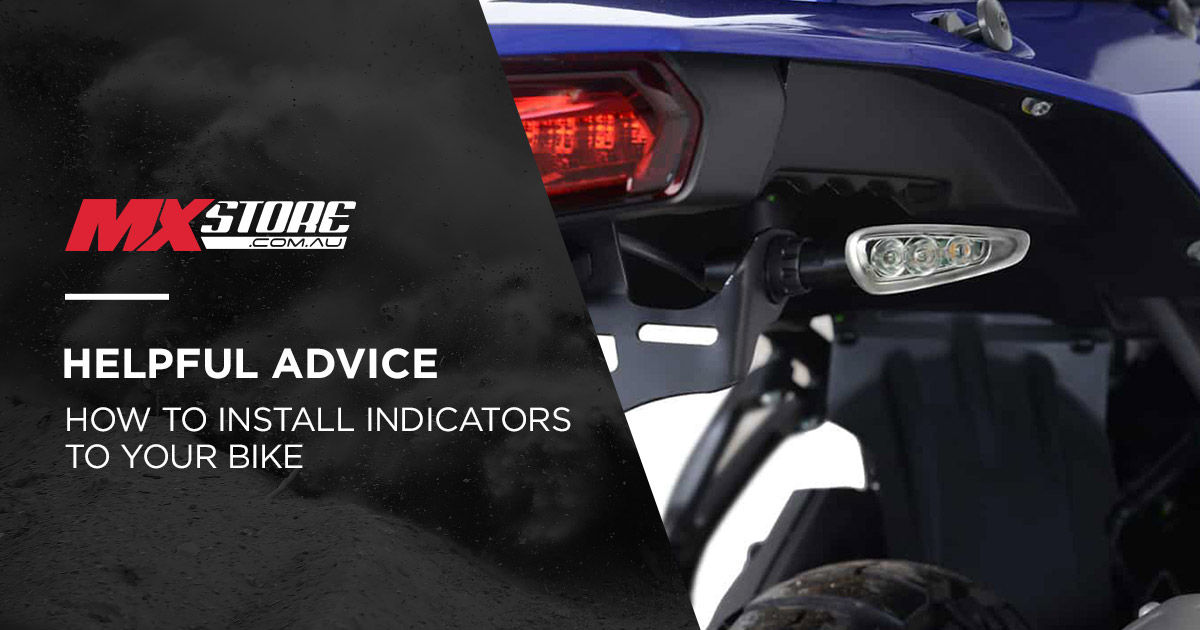
How To Install Dirt Bike Indicators

https://www.mxstore.com.au/brand/ballards-indicators/
If you're even thinking of taking your dual sport or road-registered dirt bike out on the streets or on the road, then you'll need to ensure it's fitted with indicators front and rear.
There are a range of indicators available for dirt bikes, including standard or LED indicators, plus easily removable models such as the Click N Ride offerings, which are perfect for those who tend to find themselves in the dirt more often than the road.
In this guide, we cover the simple process of installing motorcycle indicators on your dual sport or dirt bike.
Step 1 - Install the indicator
The first step is to install the actual indicators to your bike. On most road registrable dirt bikes, indicators are fitted to the tail-tidy at the rear, and you'll most likely need to remove this to make installing the indicators easier, as well as routing the wiring.
At the front of the bike, there should be brackets to accomodate indicators.
Once you've removed the tail-tidy, it's a simple process of securing the indicators in place and running the cables as per the instructions or user manual. Depending on your wire routing, you can reinstall the tail-tidy. Do the same for the front.
Step 2 - Join wiring
The next step is to join the wiring - connect the positive (red) wire followed by earth (black). Always check your owners manual for the off-road bike's wiring diagram. For a stronger connection, we recommend snipping the connectors, soldering the wires together and applying a shrink wrap sleep - only undertake this task if your mechanical skills allow for it.
If you're installing LED indicators, you'll need to wire-in resistors, which are generally sold separately. You'll need one resistor per LED turn signal until there's enough load in the system to load the flasher unit. The resistors are wired in between the dual sport bike's wiring and the indicator wiring. Remember you'll also need to reconnect the brake light and number plate light.
Step 3 - Test the indicators
Now it's time to test the indicators - make sure both left and right indicator lights are working as they should, as well as both the front and rear. If you're satisfied, it's time to ensure everything is secured and re-installed, and now it's time to go and rip some trails!
Best dirt bike indicator brands: