Internet Explorer is no longer updated for Windows and may not work properly with MXstore.
Please upgrade it now to keep shopping for the latest dirt bike gear and accessories!
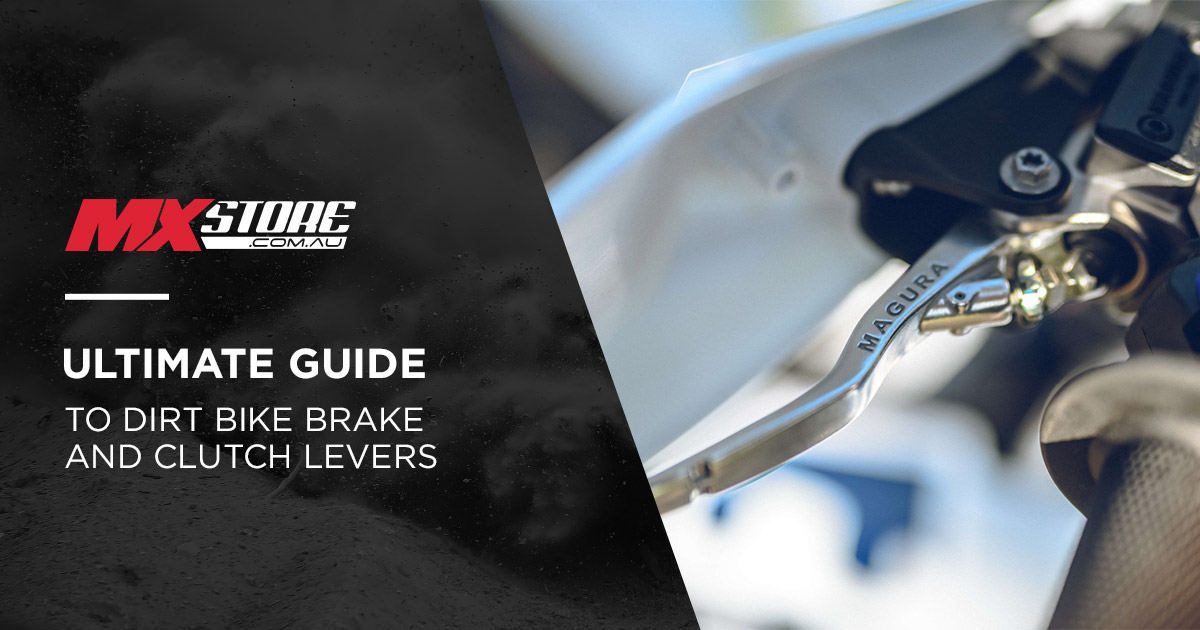
The ultimate guide to dirt bike brake and clutch levers

 Dirt bike clutch and brake levers are amongst the most-used components on our bikes, given they're what allow us to really control the motorcycle.
It's why it's important these two parts are always working as they should, and why you should have the right ones on your motorbike.
In the ultimate guide, we cover the ins and outs of dirt bike brake and clutch levers.
Dirt bike clutch and brake levers, explained:
Dirt bike levers are the two 'triggers' on your handlebars that control your front brake and clutch - the front brake being on the right, and the clutch being on the left. When these are pulled, the brake or clutch is activated.
What type of levers are available?
There are several different types of brake and clutch levers available, and they're all at different price points. The most popular is a standard replacement for the OEM part - these are generally replicate the same bend on the standard lever, and they're super affordable.
The second type of lever is an unbreakable clutch and brake lever, which are designed to flex backwards, and sometimes up and down depending on the model, significantly reducing the chances of the lever breaking in the event of a fall. You can buy these individually or in a lever set or combo.
The third common type of lever is a complete perch, which are generally designed with a unique bend and easy clutch adjustment. These type of levers, such as the Works Connection Elite perch or Pro Taper Pro Perch Assembly, allow for quick adjustment, increased adjustment, along with a greater feel on the lever.
Do levers come in different shapes?
Dirt bike lever do come in different shapes, although this is generally more so in the higher-end options available such as a complete assembly. Most other lever options will have a standardized shape unless it's a specifically shorter or longer option.
Are levers one-size-fits-all across all bikes?
No, brake and clutch levers aren't a one-size-fits-all across all motocross and enduro bikes. Some bike may potentially share the same design, or if it's the same brand of bike, the levers will likely be identical across model, however they're generally not able to fit different manufacturers. For example, the same clutch lever will likely fit across KTM, Husqvarna and current GasGas big-bike models, however they won't fit on a Kawasaki KX450 or a Honda CRF450R, which also use a hydraulic clutch. The same goes in that a clutch or brake lever for a Yamaha won't fit on a Suzuki.
What's the right type of lever for me?
There are a couple of things to consider when it comes to choosing which lever is right for you, the first being your budget. If you're looking to keep things affordable, having a spare standard lever in your toolbox would be ideal.
However, if you want to prevent the chance of breaking lever while out on an off-road ride or during moto race, then a set of unbreakable levers are definitely for you.
If you're looking for even more feel and adjustment in your levers, then you should consider the pro clutch and brake perch options available.
When should I replace my dirt bike levers?
Any time you brake a lever, or notice any damage such as cracking, then we strongly advise replacing it before you go for another ride. Broken levers can be extremely dangerous if you continue to ride with them, as sharp edges could penetrate you in the event of a crash.
How to install a dirt bike clutch lever:
Step 1: The first step is to slide the rubber boot off the lever, which will uncover the bolt that secures the lever to the perch assembly. From here, you can undo the bolt and remove the old dirt bike clutch lever - remember, you’ll need to also unhitch the clutch cable. If this is difficult, you can increase the amount of play in the clutch by moving the clutch cable adjuster which is generally located further down the handlebar.
If you have a hydraulic clutch lever, the process if very similar - just ensure you remove the lever gently and don’t lose any components that fit between the lever and master cylinder.
Step 2: Now you’ll want to grab your new lever, hitch it up to the clutch cable (unless it’s hydraulic), and put the lever into position on the clutch perch. If it's a hydraulic clutch, ensure the piston plunger is in place when putting the lever into position.
Step 3: Once the cable is hitched to the off-road clutch lever, and the lever assembly itself is in place, you can now go ahead and secure the locking bolt, as well as slide the rubber boot back. Ensure you don’t over tighten this bolt.
Step 4: It’s time to finish by checking that the lever is moving correctly and working accordingly, as well as setting up the clutch free play to your preference via the clutch cable adjuster.
How to install a dirt bike brake lever:
Installing a dirt bike front brake lever is very much like installing a hydraulic clutch lever - we've detail exactly how to do it in four easy steps.
Step 1: To start with, remove the rubber boot off the lever before loosening the bolt that secure the lever to the perch assembly. Gently take off the lever and ensure all components stay intact between the lever and master cylinder.
Step 2: Now you’ll want to grab your new lever and put it into position on the brake perch. Ensure the piston plunger is in place when putting the lever into position.
Step 3: When the lever is in place, secure the locking bolt and slide the rubber boot back. Ensure you don’t over tighten this bolt.
Step 4: You'll want to finish by ensuring the lever is moving correctly and working accordingly, while checking that brake is activated upon pulling the lever in.
Best dirt bike lever brands:
Works Connection
RHK
ARC
Pro Taper
Ballards
MCS
Renthal
Zeta
DRC
Comments (1)