Internet Explorer is no longer updated for Windows and may not work properly with MXstore.
Please upgrade it now to keep shopping for the latest dirt bike gear and accessories!
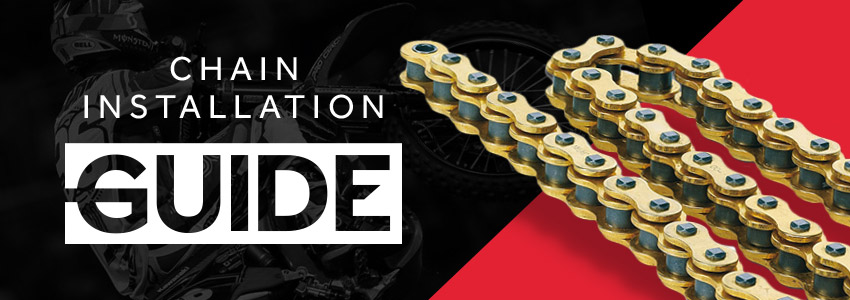
How to: Cut & Install a Motocross Chain
The drive train on your bike is subject to a lot of wear and tear while riding dirt bikes as all of the power being transferred from your engine to the ground has to pass through your chain and sprockets. Over time your chain will stretch and the teeth on the sprockets will wear down, bend and eventually break off if you don’t replace them often. This guide is to help you with installing a new dirt bike chain to your machine using the correct Dirt Bike Tools.
How Are Dirt Bike Chains Sized?:
There are predominantly 3 sizes of chains for all dirt bikes no matter what age or size the bike is. A ‘520’ chain will fit most full sized dirt bikes on the market. From a 125 through to a big bore KTM 525 they all share this size. Smaller bikes such as 85cc MX bikes will run a ‘428’ and only 50cc MX bikes will go as low as a ‘420’. There is more information about chains and How To: Adjust and Lubricate Your Motocross Chain here at MXstore.
When Should I Replace My Dirt Bike Chain And Sprockets?:
We recommend always replacing your sprockets at the same time as replacing your chain as a new chain on worn sprockets will shorten the lifespan of the chain. The first step to installing a new chain is to adjust your rear wheel chain tensioning blocks as far in as possible. This will allow plenty of room to tension your chain as it wears and stretched, just leave the axel loose while you are working out the chain length as it will help working it out. Unravel the chain and roll it out around the sprockets on the bike as you would apply any chain which is cut to length. Once you have the chain unraveled you will notice an overlap where the chain is to join.
How To Cut A Dirt Bike Chain:
Before cutting your chain it is important to remember a master link can only be joined by two internal links. If you are unsure, just take a look and any exposed plate on the chain is the outer and you will need to line up two inner plates.
Once you have decided which link you want to break you will need to grab your DRC Chain Breaking Tool and clamp it onto the correct chain lined up with one of the two pins you want to drive out. Once it is lined up simply drive the pins out with the chain breaking tool and remove the excess chain.
Adding The Master Link To A Dirt Bike Chain:
From there you can add your master chain link using a set of pliers, check to ensure the plate is on all the way so that the grooves are exposed to help locate the outer chain link clip. Make sure the open end of the clip link is facing away from the direction the chain is spinning as this will reduce the chances of the clip flying off while riding.
The last step to this process is to Adjust and Lubricate Your Motocross Chain which can be found in our blog. Enjoy!
We have a range of Dirt Bike Chain Adjusters and other handy tools for your bike at MXstore. Some of the top brands are DRC Tools and Motion Pro Tools.