Internet Explorer is no longer updated for Windows and may not work properly with MXstore.
Please upgrade it now to keep shopping for the latest dirt bike gear and accessories!
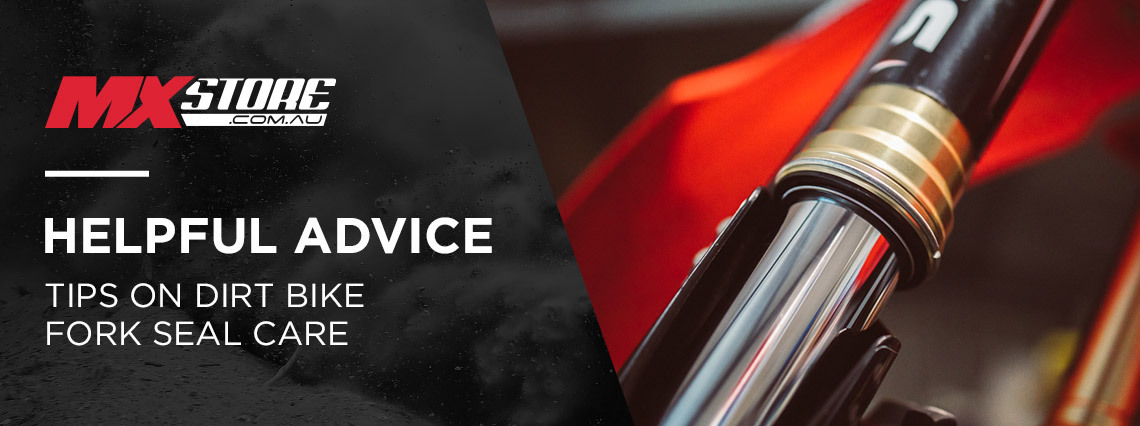
Tips On Dirt Bike Fork Seal Care
Being off-road machines, dirt bikes are susceptible to wear and tear on particular parts after constantly being put through some of the dustiest and dirtiest conditions, and your fork seals are one of the regular components to let go.
Indicators your fork seals need to be replaced:
- Seals leaking oil from the fork inner chamber (usually ending up all over your brakes making it difficult to slow down)
- Stiff or sticky feeling fork action
- Reduced fork performance/ increased bottoming from fork oil loss
What causes leaking fork seals?
The most common cause for any of these symptoms is from dry oil seals or dirty fork bushes, and the main culprit for this is dirt and cleaning chemicals being trapped in the outer dust seal, then over time working its way through the fork seal and into your fork bushing.
Another contributing factor to leaky fork seals which many riders overlook is the oil itself, which is common knowledge that all oil has a lifespan and needs to be replaced.
How often should I change my fork oil?
The amount of oil in your forks will depend on your bike and model, although your owners manual will indicate the exact measurement. An average fork leg contains around 500ml of oil which with every action of the fork, oil is forced under extreme pressure through valves that gives your suspension its damping characteristics.
Considering the length of the fork leg and the considerable amount the fork travels at high speed up and down every lap of a motocross track, you can see why your oil and all of the internal parts would wear and need frequent servicing.
There are a few things which you can do yourself frequently to help improve the life of your fork seals, this can be performed at any time even at the track and can slow the rate of a weeping seal down for a temporary fix on a ride day.
It's recommended your forks should be serviced by a suspension specialist at least every 50 hours, or every few races for a serious competitor.
Bleed your forks:
All traditional forks which don’t operate on compressed air will trap air inside the chamber over time and need to have the built-up air bled out periodically. To do this you must first place your bike on a centre stand to take any load off the forks so they are not compressed.
Once your bike is on the stand, you can bleed each fork leg, looking at the top of your fork leg there will be a small screw next to your damping adjustment 'clicker' screw. Remove this carefully and you should hear a small amount of air escaping. Once all of the air has been released you can tighten the screw again being careful not to over tighten, as the small screw can strip or break easily.
You can also put easy air bleeder valves on your forks which replace the bleeder screws, these are a press button air valve release that are much quicker and easier to use.
Note: If you are turning the screw but it spins freely and makes a clicking sound then you are turning the damping screw, turn the screw back the same amount of clicks and then try the screw next to that one.
Clean and lubricate your seals:
While your bike is up on the stand, you may also want to clean and lubricate your seals. To do this, you must first remove the fork dust seal which can be done using your hands if you are feeling strong.
Failing that, you can use a large flat screwdriver to work the seal down from its top edge, being careful not to use too much pressure or you could slip and jam the screwdriver into the fork tube or into your leg, so proceed with caution!
Once the dust seal has been pulled down the fork leg out of the way you can attend to your fork seal. To clean the seal, use either a 0.2mm feeler gauge which is new, has no damage or sharp edges, or a new tear-off from your motocross goggles. Slide this up and inside the seal, then spray some penetrating and lubricating liquid (a silicone spray or Bel Ray 6 in 1 lubricating spray) all the way around the seal.
Proceed to spin the feeler gauge/tear-off around the seal while dragging it down, which will clean the dirt out of the seal. A small amount of oil will also leak out of the fork which will lubricate the seals even better.
Once you have done this and there doesn’t appear to be any more dirt coming out of the seal, wipe the excess oil off with a clean rag and slide the dust seal firmly back into place. Repeat the process on the other fork and you should notice the difference as soon as you sit on the bike!
Alternatively, there is a handy for seal cleaning tool called the Rhino Fork Seal Doctor which is a quick and easy way to clean a set of fork seals in a couple of minutes.
Track tips:
You should use fork seal savers which act as an extra layer of protection for your seals, they help keep the dirt out of your seals and can be washed after every ride.
A fork support is also recommended when transporting your bike - this is a brace tjay stops you from having to pull your forks down too far with tie-downs. The brace will save your forks and also make your bike more stable during transit.
You can also add quick air bleeders to your forks which have an easy release button saving you using a screwdriver every time.
Disclaimer: If you don’t usually work on your own bike or are not mechanically minded, you may want to take your bike to a qualified mechanic instead of trying this yourself. At worst, ask for assistance from someone who you trust and has experience with this procedure. MXstore Pty Ltd its shareholders and staff will not accept any responsibility for injury or damage caused to motorcycles or personal property while attempting this procedure.
Fork seal kits available at MXstore:
Comments (1)